Saturday, December 6, 2008
Final Mold
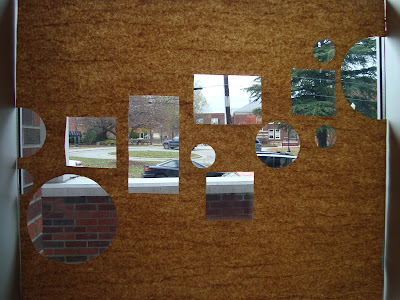
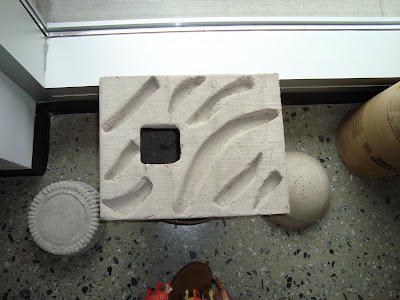
This was the final mold that we casted. We decided this was our favorite one because the rippling/waves looked better and there were more of them. Both models turned out very successful so there wasn't much of a change in there appearance. This model was in the presentation though because I'm pretty sure they got mixed up! But you can see what our final one looks like.
The Presentation
I was in the Exhibit Group for the separate groups that contributed to the final presentation. One of the hard tasks I took on was cutting out the PATHWAYS EDGES BOUNDARIES letters that went on the brown paper wall with the drawings. But overall the exhibit turned out nicely and so did the final presentation. This project took a lot of hard work and extra time spent outside of studio time working on it to have it complete and looking great!
The Presentation
Friday, December 5, 2008
Final day of casting
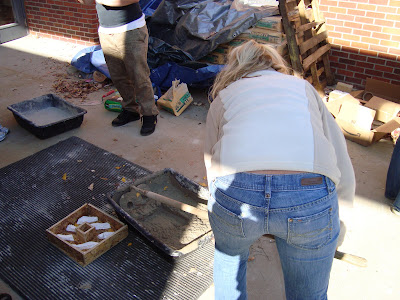
This is a LOVELY picture of Kristina after a long hard morning of poring concrete into our final molds! Thumbs up! We're done.
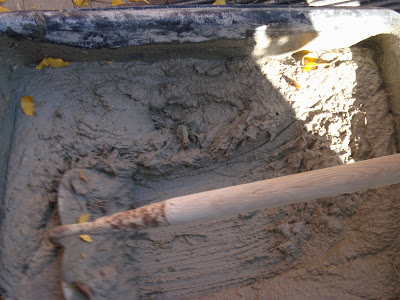
Alright, whoever said this wasn't messy work? I'm pretty sure we all got pretty dirty at some point when working with the concrete, pouring and mixing.
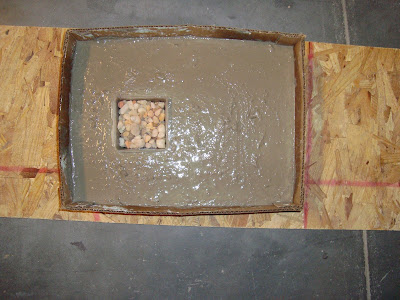
These square molds below are the forms we used for our bases. For our structures we figured out we needed a second piece to hole the structure in place and make it stronger.
Our final casting of the mold of the structure we had to create and it's base. This was a lot of hard, dirty, cold work! We were outside or in the workshop four class days the full three hours of class. It took a lot of time and measurements but we were all very happy with the way our structures turned out. It was fun to finally make something that is actually going to be installed and used for quite some time. I'm happy we'll get to walk by our work everyday and remember all the hard work that went behind it.
Thursday, December 4, 2008
Cottage
One Point Perspective
Wednesday, December 3, 2008
Sucessful Molds
After seeing how our first mold turned out, awesome! We then knew how we would cast our final mold and have it be completely successful and pleasing to the eye. The top picture shows how we used texture in our mold to correlate to the Desert group. We bought foam and cut it out in ripples then glued it inside our mold to give it the ripple/wave look.
The second picture is the other side of the structure. This also has beautiful texture and you can see. Our aggregate really appears on this side which was pine straw and ginco leaves.
Mold 2
Drafting
The elevation drawing turned out to be my favorite. I found it easiest because the measurements were a lot easier to get than the rest of the drawings. Also the poche looks the best in this drawing because of the different line weights and scenery that was used to show depth.
A floor plan from exercise 6.4. I looked at this and didn't know where to start. I think it turned out nicely though.
Above is the Venturi house floor plan. This wasn't as bad as I thought it was going to be!
Above: The Section Cut of the Woodland Chapel was by the far the most difficult. All the measurements took the longest on this one along with the poche work that had to be done. But once I was all done I was proud to stand back and look at it finished nicely.
Tuesday, December 2, 2008
Mold Failures
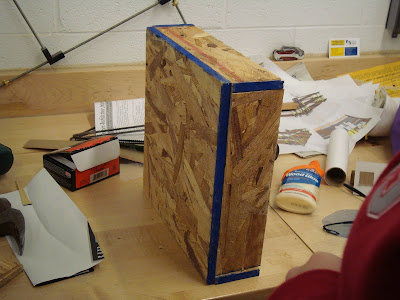
The mold we tried to build in the wood shop turned out to be a failure.We didn't get the sides held together tight enough to be strong. The only to get it to hold together was to use nails and that would've made it harder to take apart. It wasn't sturdy enough to hold the concrete so as soon as we started pouring it in there it fell apart. It was one big mess!
Casting of mold one complete
After we figured out that we weren't going to use wood for our molds we stuck with cardboard boxes. We wanted our structures to be three inches thick so that meant we had to cut down the box and make it shorter which was no problem. Then we filled it with our aggregate and concrete and let it sit until it was in its green stage.
Poring concrete and casting molds
Molds
Photos from building molds
Subscribe to:
Posts (Atom)